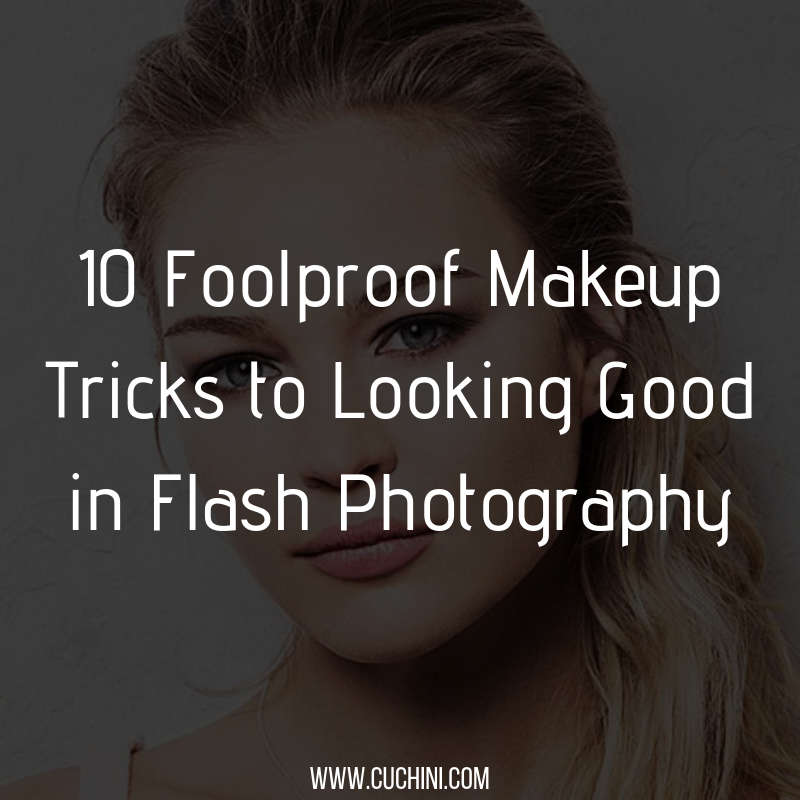
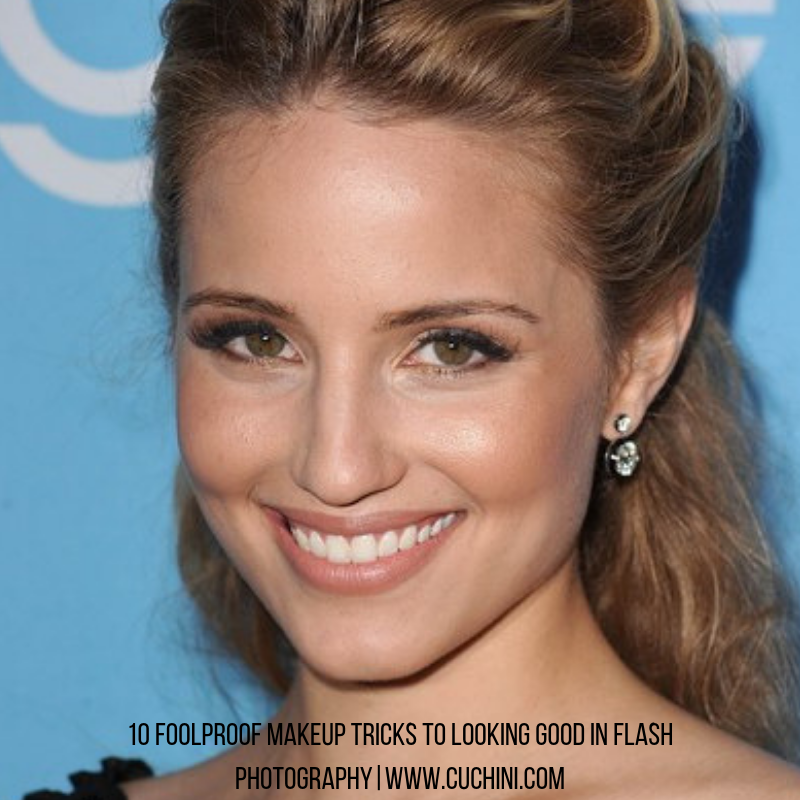
 Lighting doesn’t just make or break a photo—it can change the way your makeup looks, too. There’s a reason why makeup artists do stage makeup differently than they do ones for photoshoots, because certain techniques and products look best under specific lighting conditions. Theater makeup, for example, requires heavier application because stage lights tend to wash out practically half of the performer’s glam—it might not look the most natural up close and under regular sunlight, but it does look flattering on stage and even helps the actor convey emotions better. The same logic applies when you take pictures with flash—you have to consider certain parts of your makeup carefully to guarantee that you’d still look your best. So whether you’re attending an evening event or simply heading out to take an ID photo, here’s what to keep in mind to look flawless in flash photography:
1. Use a mattifying or blurring primer.
Harsh lighting isn’t always the most flattering on the skin, so before starting with your makeup, always prep your skin. A primer is the less greasy way to do it—opt for something that’ll reduce the appearance of large pores and other texture issues, and if you have oily skin, use a mattifying primer to fight shine on your T-zone.
2. Avoid using foundation with SPF.
Sunscreen tends to give the face a white cast in photos, particularly when you’re using physical or mineral sunscreens that use titanium dioxide and zinc oxide as UV blockers. That’s why when you’re expecting to get photographed with flash, stay away from foundations with any form of SPF to avoid flashback that’ll make you look ghostly in pictures.
Also, skin naturally looks shinier when it’s photographed with flash, so it’s best to dial down on the glow with your makeup. For your base, aim for a natural, semi-matte finish or a matte finish—nothing overly dewy because you could end up looking greasy and oily once the flash goes off.
3. Contour and highlight your face.
Flash wipes out any kind of dimension on your face, which is why you have to manually strengthen your features with makeup. Contouring, or applying a product a few shades darker than your skin tone in certain areas, help with this because it enhances the natural shadows in your features. The most important parts to contour are the following: your cheekbones, temples, hairline, and jawline. Contouring these areas will stop light from bouncing off them and give you a more chiseled look.
If contour helps recede certain areas of your face, highlighting does the opposite. Adding a highlighter on the high points like on top of your cheekbones, nose bridge, and cupid’s bow will reflect light on these areas and have your skin looking healthy and glowing.
4. Conceal any discoloration.
Harsh light may wash you out, but you still have to cover any discoloration with a concealer so they don’t show up in your selfies. Something with medium to full coverage are your best bet for dark circles and blemishes so your skin will appear more even.
For dark circles, concealers in the same shade as your skin but with a slight peachy undertone will color-correct any blues and purple tones under your eyes. You can also use one that’s a shade lighter than your skin if you want to highlight that area. For a blemish concealer, choose a color that blends into your complexion perfectly. Don’t forget to blend away all the harsh lines for a more seamless look!
5. Set your makeup with powder.
Powdering your skin won’t only blur any imperfections and set your makeup, it’ll stop you from looking oily in photos, too. Apply a light dusting of powder on your T-zone and everywhere you contoured to keep light from bouncing off them. Try not to apply too much, though, because some products tend to build up and give off a white cast! To be extra safe, take a selfie on your phone with the flash on first before heading out.
7. Fill in your brows completely.
Sadly, flash photography doesn’t do a soft brow justice. It’s more likely to wash out your entire brow altogether especially if you have sparse ones. When filling your brows in, don’t be afraid to go all out. Decide on your shape, draw your outline, and fill it in with your preferred product. Give it a slight ombré by applying the most product on the tail, a little less on the middle, and the least at the front of the brow. To finish, brush your hairs with an eyebrow gel to add texture and set your look in place.
8. Define your eyes.
Another feature that gets lost in photos are the eyes—the light tends to shrink them and take away any definition. Luckily, you can always cheat that with some eyeshadow and liner. Start off easy by blending a brown shade along your crease to enhance it or apply it all over your eyelid. If you want to add eyeliner, you can tightline or fill in your inner waterline to really make your eyes pop sans a wing. Speaking of a wing, manage the size of your cat eye to suit your eye shape—a thick wing can actually make your eyes appear a bit smaller! Don’t forget to curl your lashes and swipe some mascara (see our favorites here!) to bring the look together!
9. Choose your lip color carefully.
The last thing you want is to have all your features pop in photos except for your lips. When choosing a lip color for a photo sesh, skip anything that’ll make your pout look pale and dimensionless such as nude lipsticks as light as your concealer and white-based pinks. If you want to wear a natural-looking shade, go for a deeper kind of nude color, like ones with a hint of brown or red. But for maximum impact, wear a statement lip like red or a vampy hue that’ll definitely stand out.
10. Touch up whenever necessary.
The heat from lights and our weather in general always puts our makeup in danger of melting off. Touching up your glam once every few hours will help keep everything looking freshly-done, which is important because the camera will pick up any gaps and smudges! Some essentials to keep in your bag include a sheer pressed powder to blot off oiliness, your lip color, blush, and eyeliner, a.k.a. the products that tend to fade first.